- Tutorials
- Time picker and refresh
Tutorials
Time picker and refresh
Time system in xObserve is very simple: when you picked a time range, that time range will be used in all dashboards.
Time picker
Time picker is located at the top right corner of the dashboard. There are four ways to set the time range, the mose common way is select the quick times.
Quick select
Quick select always select a time range relative to current time. For example, if you select Last 1 hour, it will select the time range from 1 hour ago to now.
So when you refresh the dashboard, it will always show the latest data in the last 1 hour.
This relative time range is showed as now-1h to now both in the time picker and the url.

There are four places in above image shows last 1 hour or now-1h to now, can you find them all?
Custom time range

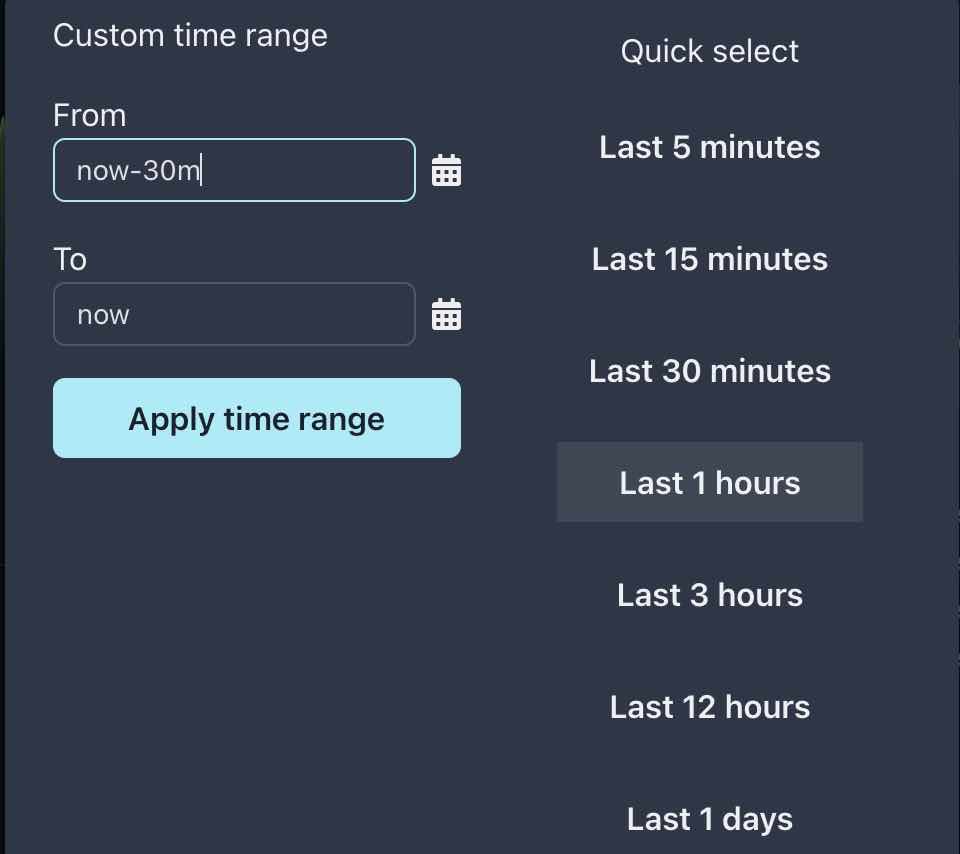
Here shows another way to set time range, look at the left part of above image, you can directly input the time range you want.
In above image, we first select Last 1 hours, and modify from field in Custom time range section, then click Apply time range button to make the changes take effect.
You can see: with the time change from now-1h to now to now-30m to now, the data in the panels also changed, that’s nice and also intuitive..
Select calendar
Have you seen the two calendar icons besides from and to fields? You can click them to select a date range in calendar.
Modify url
When you select a time range, the url will be changed at the same time. Try to modify from and to params in url and refresh the page to see what will happen.
Sync to local storage
When you select a time range, it will be saved to local storage in browser. If you refresh the page, the time range will be restored from local storage.
Refresh
Sometimes we hope to refresh the dashboard data automatically, for example, refresh the dashboard every 60 seconds.
This is easy to do in xObserve, just select a refresh interval next to Refresh icon in the top right corner.
If you just want to refresh the dashboard once, you can click the Refresh icon directly.

